Full HVHZ compliance is verifiable on five fronts: licensed contractor, correct NOA-approved product for your wind zone, City of Sunrise permit and inspection sign-off, installed inside-panel NOA label, and a wind mitigation (OIR-B1-1802) inspection report. If any of these are missing, the installation is not fully compliant, and your insurance discount and warranty may both be at risk. See our HVHZ installation process →.
Most homeowners hire an HVHZ garage door installer, accept that the door is "code compliant," and never see proof. Months later, a wind mitigation inspector visits and finds the door is missing its label — or the permit was never closed out — and the insurance discount is denied.
This is the checklist that prevents that outcome. Use it before you sign, during the install, and at handover.
Pre-Install Verification (Before You Sign)
1. Contractor licence
- Ask for the Broward County contractor licence number (CC#). For Garage Door Kingdom it is CC# 21-GD-22352-X, valid through 2026-08-31.
- Verify it on myfloridalicense.com — search by licence number. Confirm the status is Active and the company name matches.
- Garage door installation in HVHZ areas requires a licensed contractor. A handyman or a friend-with-a-truck is not legal, and any insurance discount tied to the install is void.
2. Insurance certificate
- Ask for a Certificate of Insurance (COI). The contractor's insurer should email or fax it directly to you (not handed over as a photocopy). Typical Florida requirement: $1M per occurrence general liability, $2M aggregate.
- Verify the policy is current and lists the installation address.
3. Product NOA
- Ask for the Miami-Dade NOA number of the specific door model being quoted. Example format: NOA No. 19-0214.03.
- Verify the NOA is current and approved for HVHZ use on Miami-Dade Product Control.
- Match the NOA's wind speed and exposure category to your address. If you live in an exposed location (Sawgrass-adjacent, golf-course-facing), ask whether Exposure C ratings apply.
During the Permit and Install
4. Permit
- Your contractor pulls the permit from the City of Sunrise Building Division. Application takes 1–3 days; approval typically 5–10 business days.
- The permit number should appear on the work order and the installation paperwork. Ask for a copy.
- Do not let install begin without the permit posted on-site.
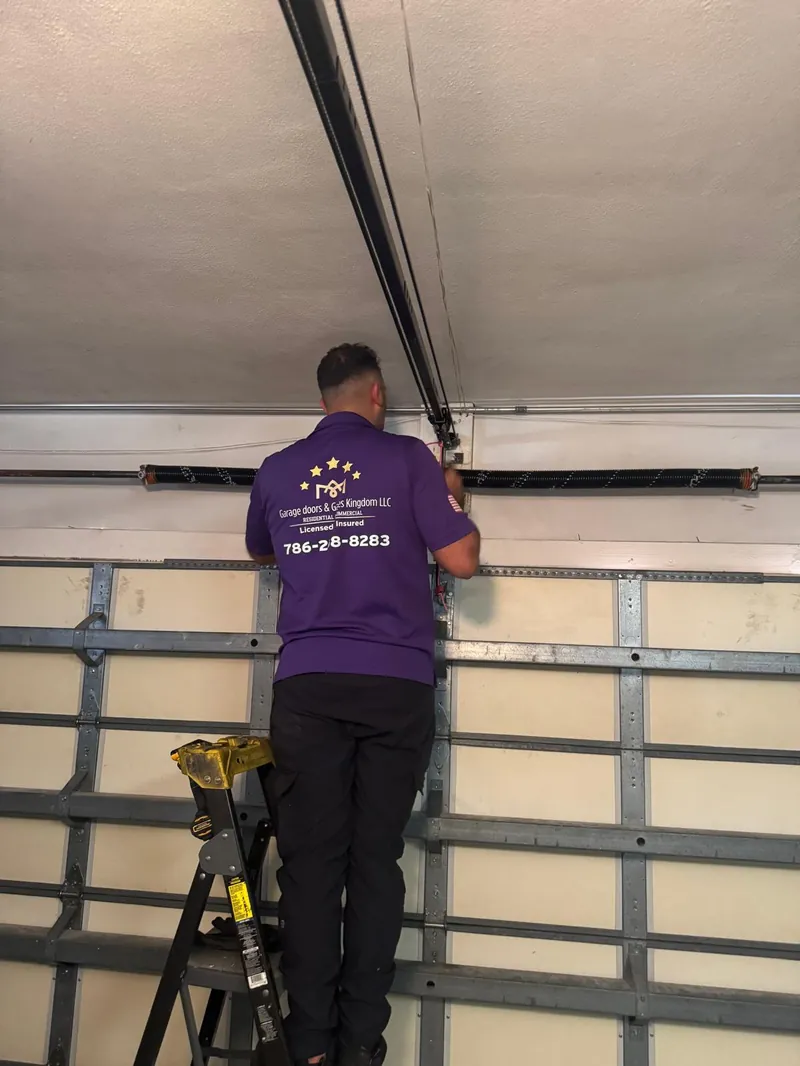
5. Installation per the approved details
- The door must be installed exactly as the NOA-approved installation drawings specify — bracket positions, fastener spacing, screw type and torque, anchor depth.
- Any deviation invalidates the NOA. A common shortcut: substituting non-HVHZ fasteners "because the spec ones are out of stock." Refuse this.
- The installer should walk you through the install when done, showing you the components.
6. Final inspection
- The City of Sunrise inspector visits within 5 business days of install completion to verify code compliance.
- Ask for the closed-permit document (sometimes called the Certificate of Completion or final inspection card).
- Keep this document with your home records. It is required for any future insurance claim related to the door.
Post-Install Documentation
7. Inside-panel NOA label
- The installer must affix (or leave intact) a manufacturer's label on the inside of the top garage door panel. The label shows: manufacturer name, model number, NOA number, design wind speed, and date of manufacture.
- Photograph the label after install. Email it to yourself and save it with the permit paperwork.
- A wind mitigation inspector cannot credit your door without seeing this label.
8. Wind mitigation inspection (OIR-B1-1802)
- Schedule a licensed wind mitigation inspector (separate from the garage door installer). Cost: typically $75–$150.
- The inspector completes the Florida-standard OIR-B1-1802 form, documenting the door's HVHZ status, the inside label, and the install date.
- Submit the OIR-B1-1802 to your homeowner's insurer. Expect a 10–20% premium reduction effective at your next policy renewal.
9. Your home file
At the end of the process you should have, in one folder (digital or paper):
- Itemized installation invoice (paid)
- Contractor licence verification (printout from myfloridalicense.com)
- Certificate of Insurance (current at install date)
- NOA documentation for the installed door (printout from miamidade.gov)
- City of Sunrise permit number + closed-permit document
- Photograph of the inside-panel NOA label
- Wind mitigation inspection report (OIR-B1-1802)
- Manufacturer warranty paperwork
Keep this folder with your homeowner's insurance file. When you sell the house, hand it to the buyer — the next homeowner can keep the wind mitigation discount.
When to Worry
You should be concerned if at any point during the process the contractor:
- Refuses to provide their CC# or insurance certificate in writing
- Quotes a "no-permit" installation as cheaper or faster
- Cannot produce the door's NOA documentation on request
- Asks you to sign that the install is complete before the final inspection has occurred
- Removes the inside-panel label "to make the door look cleaner"
Any one of these is a sign to walk away.
Want This Checklist Done Right?
Garage Door Kingdom handles every step of this checklist for our customers — licence verification, permit, NOA documentation, label preservation, wind mitigation paperwork. We give you the complete folder at handover.